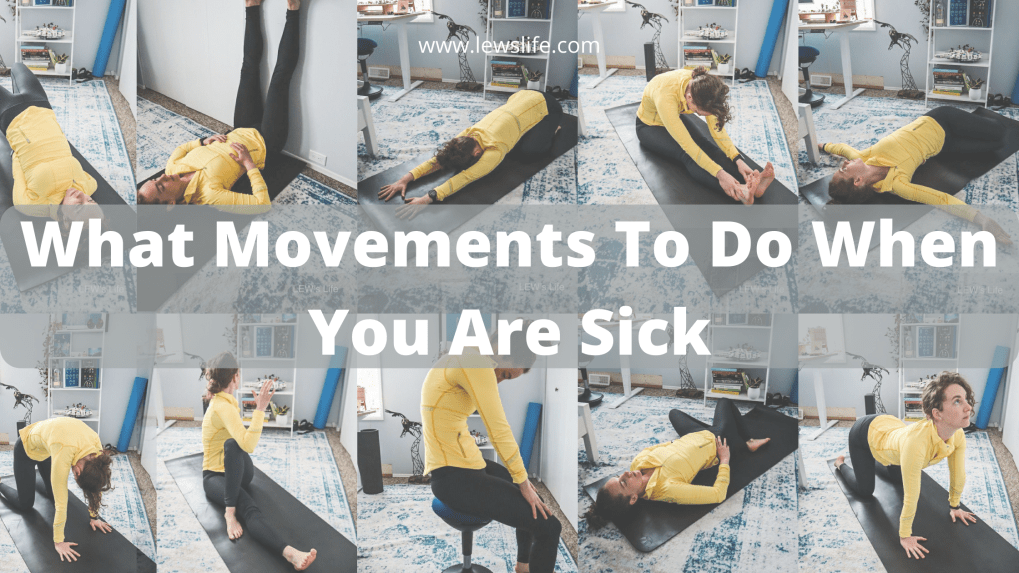
We all know when we are sick, regardless of whether it is respiratory or stomach, all we want to do is lay on the couch and sleep. Granted, the first few days, that is exactly what you should probably be doing. But what if I told you moving your body gently for a few minutes a day may be more beneficial.
Doing gentle movements to open up your chest if you have a respiratory cold and movements to get your bowels moving if you have the stomach flu can be exactly what the doctor ordered. I’m not talking movements to get you sweating, just easy movements to relax your nervous system and help your immune system fight whatever bug it is that you have.
Don’t feel the need to do all of these exercises, pick 1-3 of them if you aren’t feeling your best. Or if you are more at the end of your cold or flu and you have the energy, feel free to try them all out. The world is your oyster!
Diaphragmic Breathing
Why do this exercise when you are sick: This is probably the most important exercise to do when you are sick or not, as it helps to level out your nervous system and gets one of your main organs, your lungs, working at their top productivity, among all of your other organs as well. This is due to the vagus nerve that runs right through the diaphragm muscle and innervates with all of your organs.
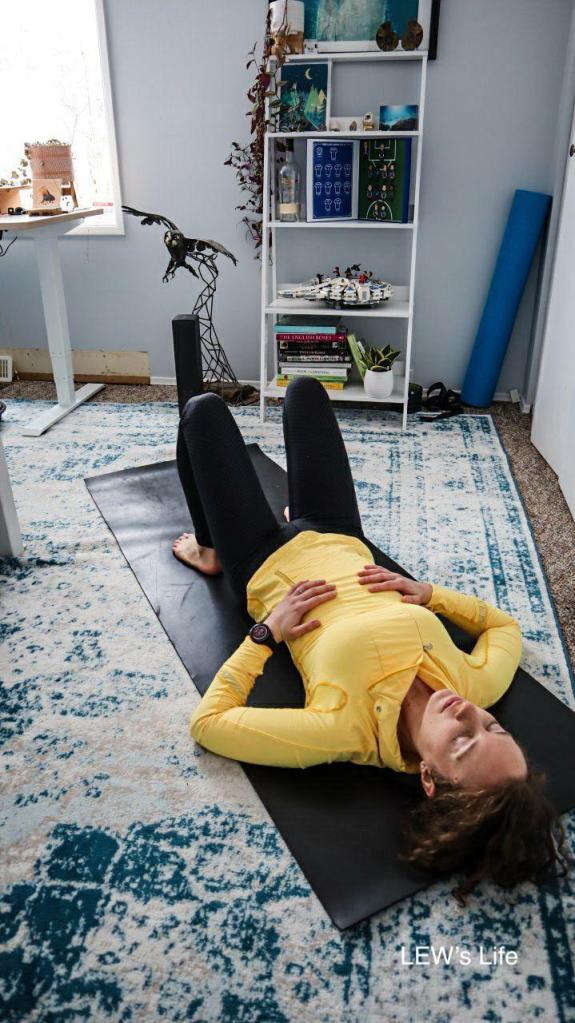
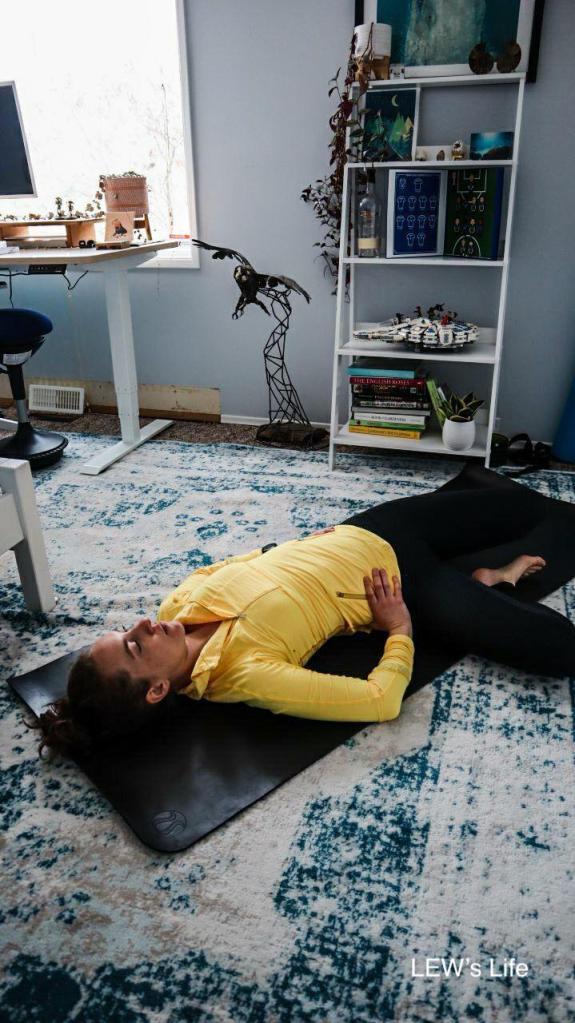
Directions: Lay on your back and place one hand on your chest and one hand on your stomach. Take a deep breath in and see what your baseline breath is, see what hand moves first and what hand moves the most. If you are all stomach or all chest, we need to correct the way you breathe. The proper diaphragmic breath is having your stomach (the diaphragm) be the first movement in your breath, and as you continue to inhale, a small movement will happen second in your chest. Then you exhale from the chest into your stomach and repeat. This can be a challenging movement to perfect, so starting to practice this laying on your back with your knees bent is recommended. Be patient as this will come around and become easier the more you practice it. Really try to expand through your whole ribcage, the back, sides and into the front.
If you are an imaginary person, think as if you have a balloon in your stomach and you are inflating it from your stomach into your chest then slowly letting the air out of that balloon as you exhale. The movement will happen first in the stomach then as that “balloon” expands the movement will be second in the chest.

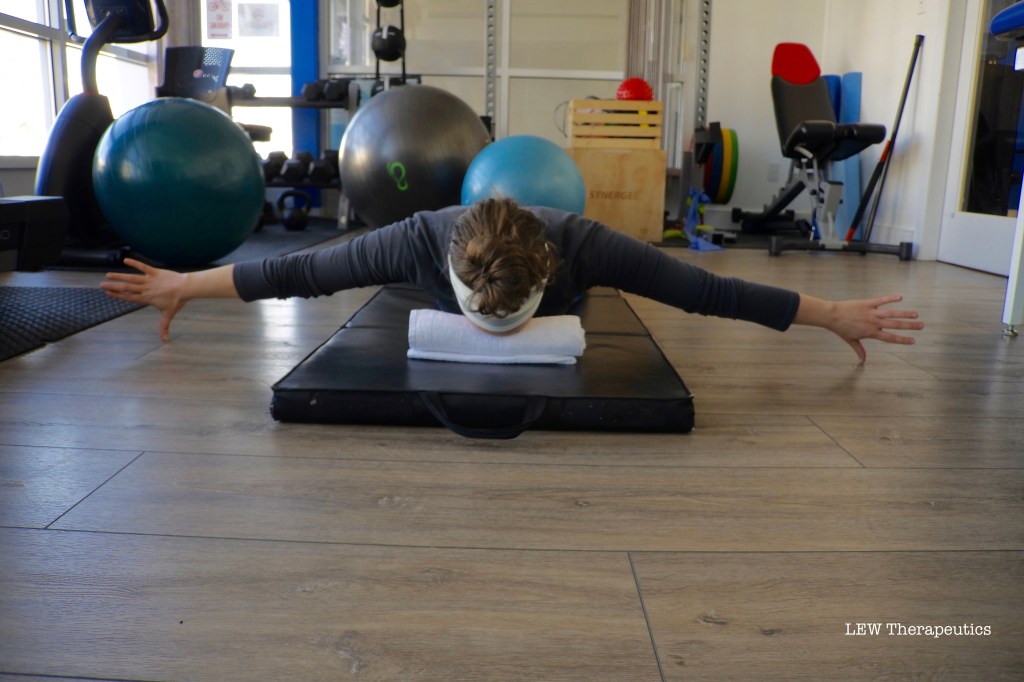
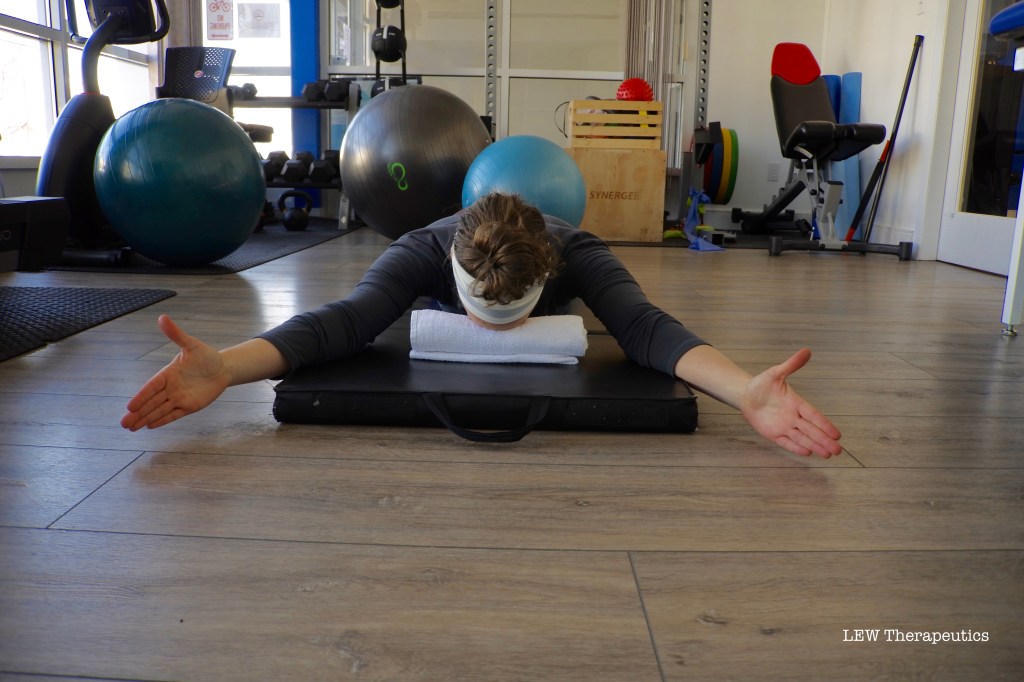
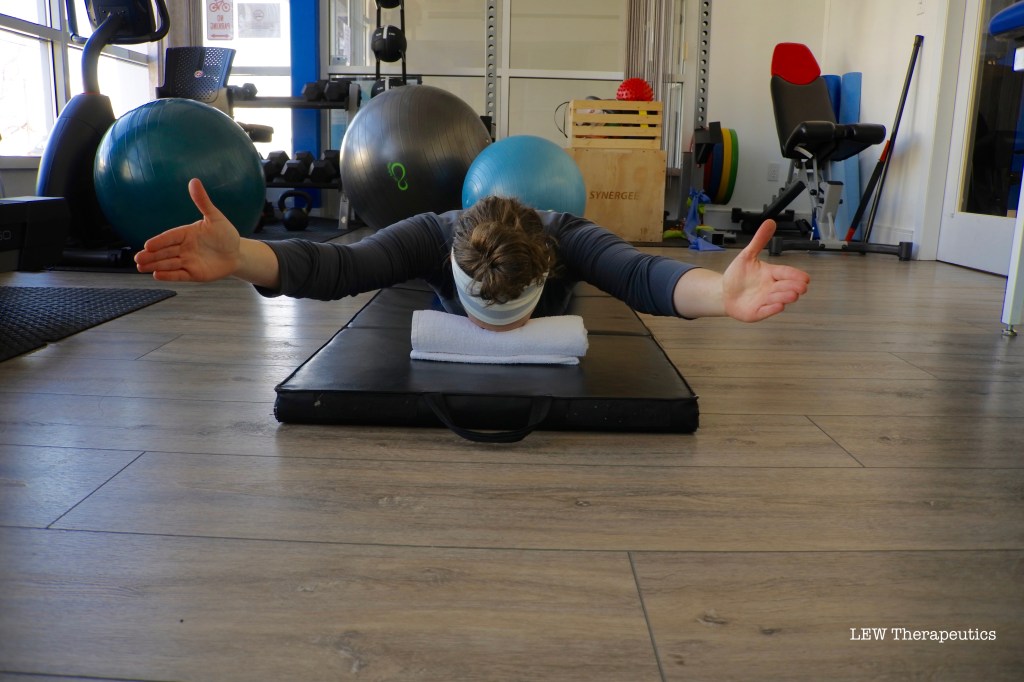
Thoracic rotations on the floor
Why do this exercise when you are sick: If you have the energy to roll out a yoga mat this one is for you. The thoracic spine is the section of your back that is just under your neck and right above your lower back. It is where your ribcage connects with the spine. If you have restricted movement in your t-spine, this can also restrict movement in your ribcage which will, in turn, restrict the space your lungs need to inhale and exhale. Therefore, getting more mobility into your t-spine will help with lung expansion, and this can help with getting out any of that phlegm that might be sitting in your lungs.
Directions: Lay on one side and bend your knees to a 90-degree position towards your chest. Now place your head on a pillow and extend both of your arms out in front of you with your hands together, like you are making the head of a crocodile. You are going to take a deep breath in as you extend your top arm further out, and as you exhale you will be pulling that top arm back across your body like you are pulling a bow and arrow back. The goal is to rotate through your back and get your top shoulder to touch the ground without over-extending through your shoulder. As you breathe in again you will bring your arm back over your body to your opposite hand where you started and repeat. Be sure to do this on both sides.

Lumbar rotations:
Why do this exercise when you are sick: If you have stomach sickness, it’s important to help your body heal by getting your bowels moving. You can do this by drinking a lot of clear fluids like water, but you can also do this with gentle movements like walking or certain stretching and mobility movements. By dropping your legs side to side you are gently massaging your bowels, lower back and hips. This in turn can help to get your bowels moving and your stomach flu out of your body.
Directions: Laying on your back with both of your knees bent and feet rested on the ground, slowly start to drop both of your knees to one side, back up and to the other side. This exercise is also known as ‘windshield wipers.’ You only want to drop your knees as far as is comfortable but where you may also get a nice stretch as well.
If you wanted to advance this exercise, once you are in a double knee drop, you could put your bottom foot over your top knee and hold this stretch for 10-15 seconds between lumbar rotations to get a stretch into your lower back, glutes and into the side of your leg.


Child’s pose:
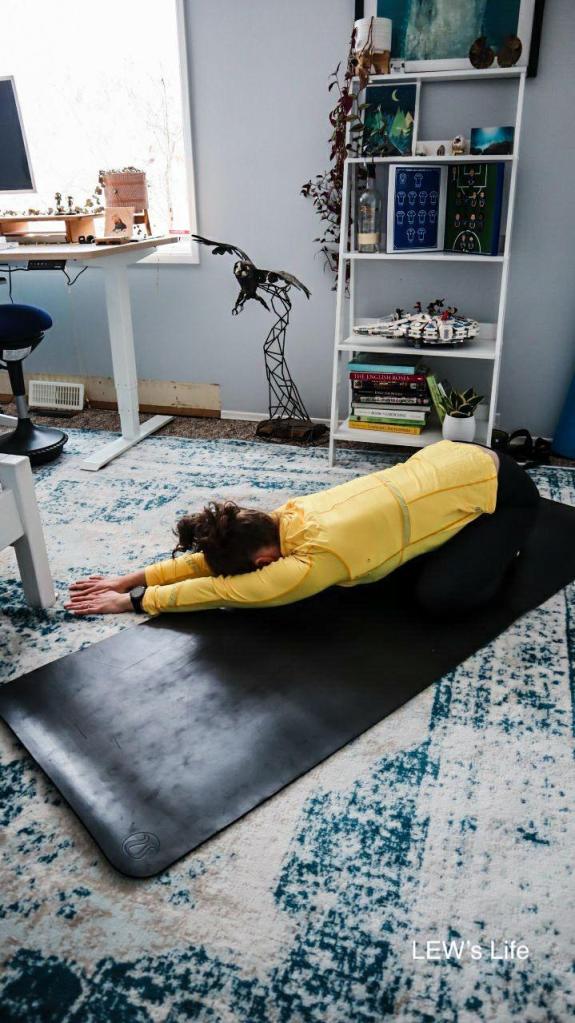
Why do this exercise when you are sick: This stretches your lower back and hips. The pressure from your bowels can push on your lower back and pelvic muscles and vice versa. By stretching your lower back and hips, you are loosening the muscles and taking some pressure off of your bowels. In the matter of a head cold, if you have phlegm in your chest, as mentioned above, getting movement to your ribcage and t-spine can help to expand your lungs to push that phlegm out. Some of your lower back muscles attach to the ribcage, so loosening them up will get more movement to your ribcage, lower back, hips and t-spine (midback).
Directions: Sitting on both knees on your mat, you can have both of your knees closer together for more of a lower back stretch or have both of your knees out to the width of your mat for more of a hip stretch. Choose which one feels right for you at this exact moment in time. Once you have chosen your knee position, reach both of your arms out in front of you as far as you can and rest your chest and forehead onto the mat. Once again, make sure you are comfortable in whichever position suits you and hold this stretch for 10-20 seconds or longer if you prefer. You can also reach out to both sides as well to get a nice side stretch through your back and hips.
Walking
Why do this exercise when you are sick: This is a simple and effective way to get your heart pumping and bowels moving. Going for even a 20 min walk can do wonders for your body even outside of a cold or flu. Going for a walk will help to get your bowels moving and expel the bug from within if you have the stomach flu, and usually, we have head colds in the winter, so going for a walk in the cold air will help your body make your nose run and push out any phlegm that can be sitting in your nasal cavity. Only go for a walk for as long as you seem fit for that day, you have to listen to your body and not overexert yourself.
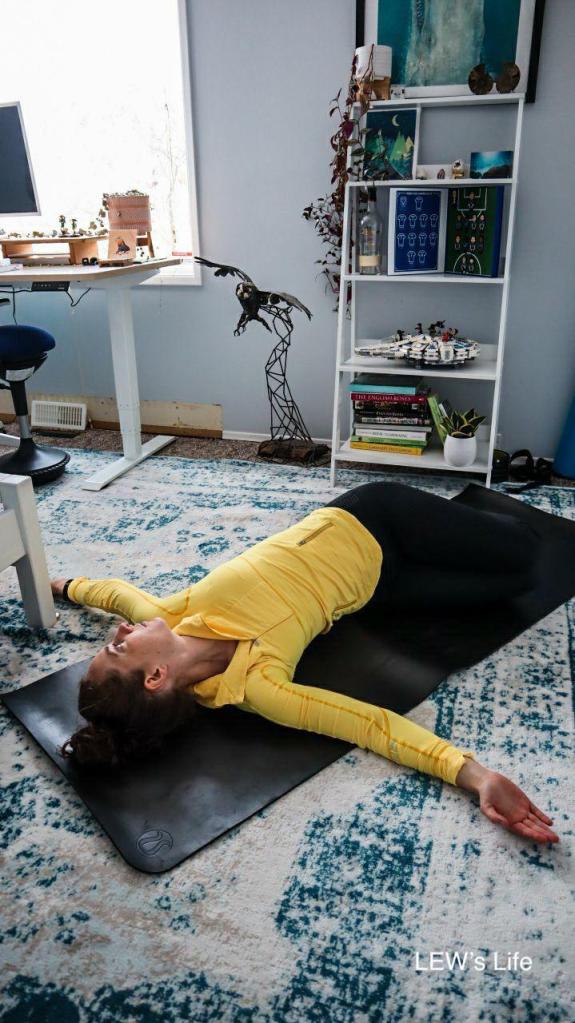
Reclining Spinal Twist:
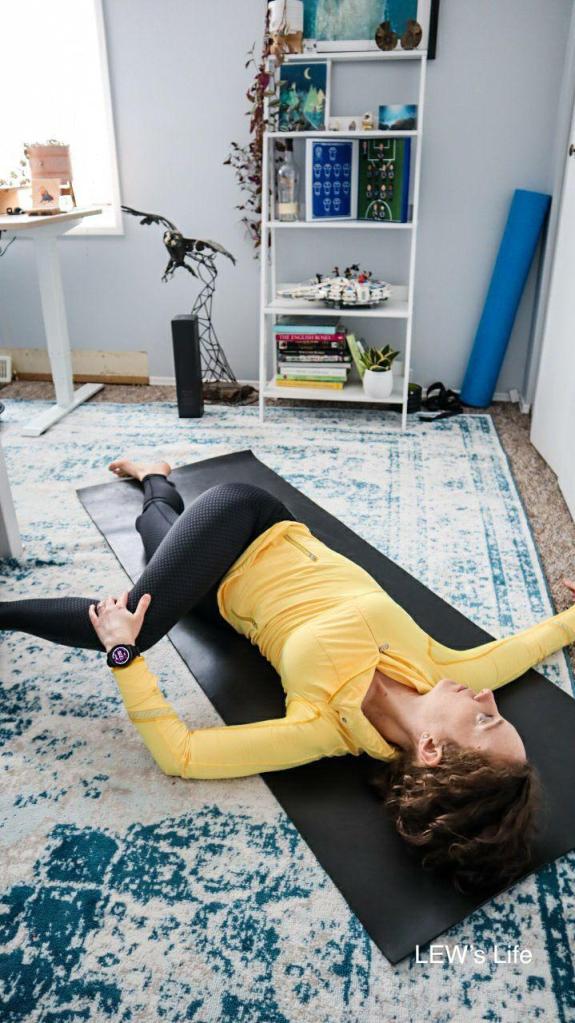
Why do this exercise when you are sick: This stretch loosens up your back, shoulders, hips, and the side of your legs. As mentioned before, loosening up the muscles around your pelvis and chest and mobilizing the bones can help to take pressure off of your lungs and bowels.
Directions: Laying on your back, bring your right knee up towards your chest then use your left arm on your right knee to twist that knee to the opposite side rotating through your lower back. Now place your right arm out and rotate your head towards the extended arm. Hold this position for 10-15 seconds and switch sides.

Seated Spinal Twist:
Why do this exercise when you are sick: This stretch loosens up your back, shoulders, hips, and the side of your legs. As mentioned before, loosening up the muscles around your pelvis and chest along with mobilizing the joints can help to take pressure off of your lungs and bowels.
Directions: Sitting on your mat with both of your legs extended out, bend your right knee and cross it over your left leg. Now place your left elbow to the outside of your right knee and twist through your back so your right hand is placed on the floor behind you. Breathe into this stretch and hold for 10-15 seconds then repeat on the other side.


Bridge Pose:
Why do this exercise when you are sick: This exercise opens up the front of your chest, hips and abdomen while strengthening your glutes, hamstrings and back. It will take pressure off of the front of your body, especially from all the time we usually spend laying on the couch or in our beds when we are feeling sick. This will help to open up your chest and abdomen and take pressure off your bowels and lungs.
Directions: Laying on your back bend both of your knees and place your feet as close to your butt as you comfortably can without strain. Engage your core by bringing your belly button in and up, squeeze your butt muscles together, and push through both of your heels to lift your pelvis off the ground to a comfortable height for your back. If you want to advance this you can also bind your hands under your back on the floor under your bridge. Hold for 10-15 seconds and slowly come down back to the mat one vertebrae at a time.
Legs Up The Wall:
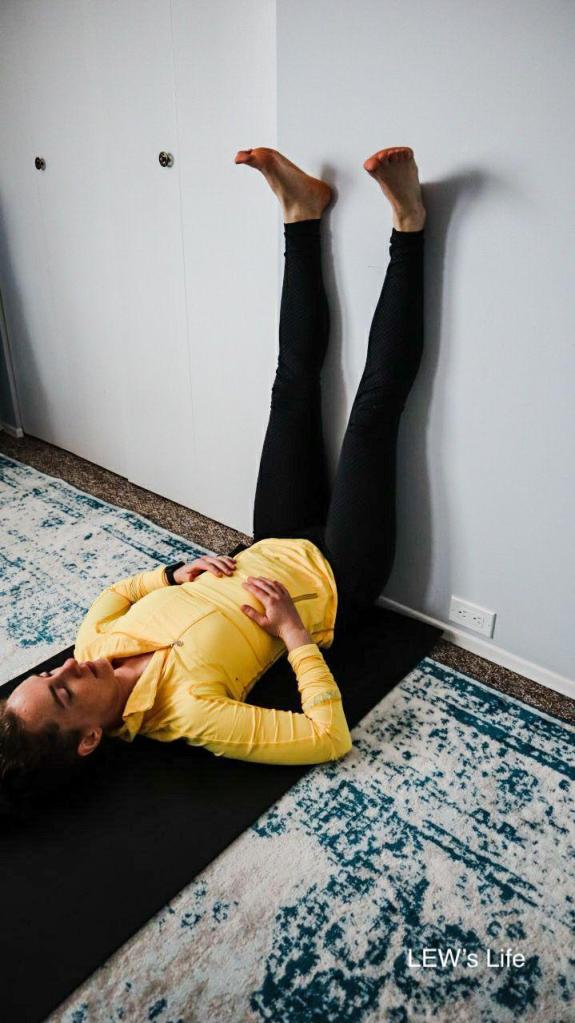
Why do this exercise when you are sick: “The main benefit of viparita karani is that it puts back into circulation the bodily fluids stored in your legs,” Dr. Saper explains. “By inverting and holding that pose, it allows the return of blood flow and reduction of lower-leg swelling.” When we are sick our bodies are already working really hard to fight the bug you have caught. Why not help your body out and get your blood circulating just a bit better to get out with the old and in with the new blood. This pose has also been shown to help with de-stressing, which we all know how stressful it is mentally and physically on the body being sick. It also gives you an opportunity to work on that diaphragmic breathing we talked about at the beginning of this blog post – wink wink, nudge nudge ;).
Direction: Laying on your back close to a wall, put both of your feet on the wall and extend your legs so they are straight against the wall. Bring your butt as close to the wall where you have a comfortable stretch and you are not feeling any strain in your legs, hips or back. Close your eyes and work on the diaphragm breathing that was mentioned at the beginning of this post for 5 minutes or longer.
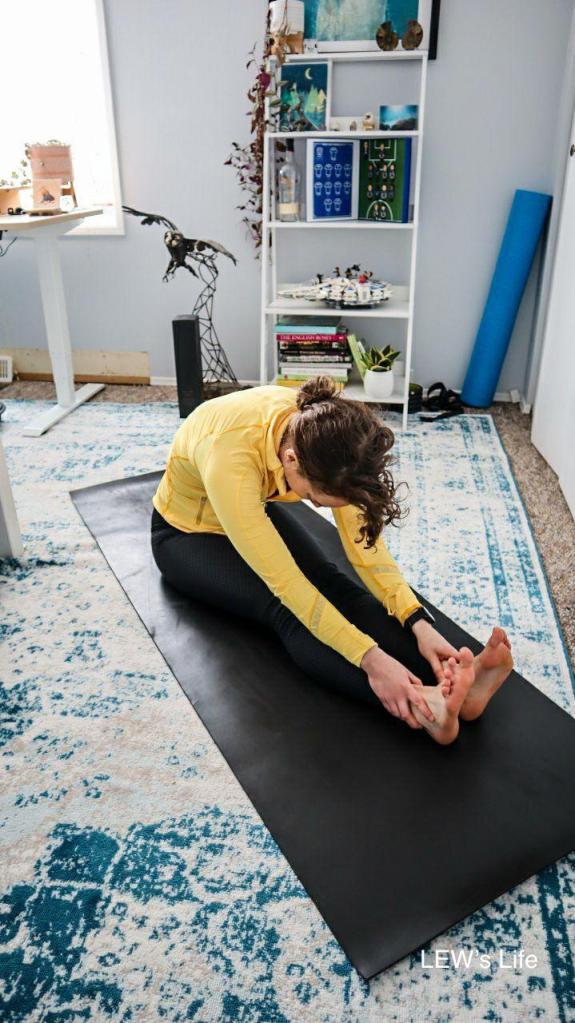
Seated Forward Bend:
Why do this exercise when you are sick: This stretch will loosen up your lower back, hips and hamstrings into your calves. As mentioned before, loosening up the muscles around the hips, lower back and chest can help open up your lungs and get your bowels moving.
Directions: Sitting on your mat with both of your legs straight out in front of you, slowly start to bend forward to try and reach your toes but only go as far as you comfortably can and where you start to feel a comfortable stretch. Hold this position for 10-15 seconds.
Cat/Camel: This exercise can be completed seated or on the ground on all fours.
Why do this exercise when you are sick: Just the same as with the thoracic rotation exercise, this will help to mobilize your thoracic spine. Just this time you are working on flexion and extension of the spine instead of rotation. Getting mobilization to your t-spine will help to get your ribcage moving as well which in turn will help your lungs to inhale and exhale easier to push the phlegm sitting in them out of your body.
Directions:

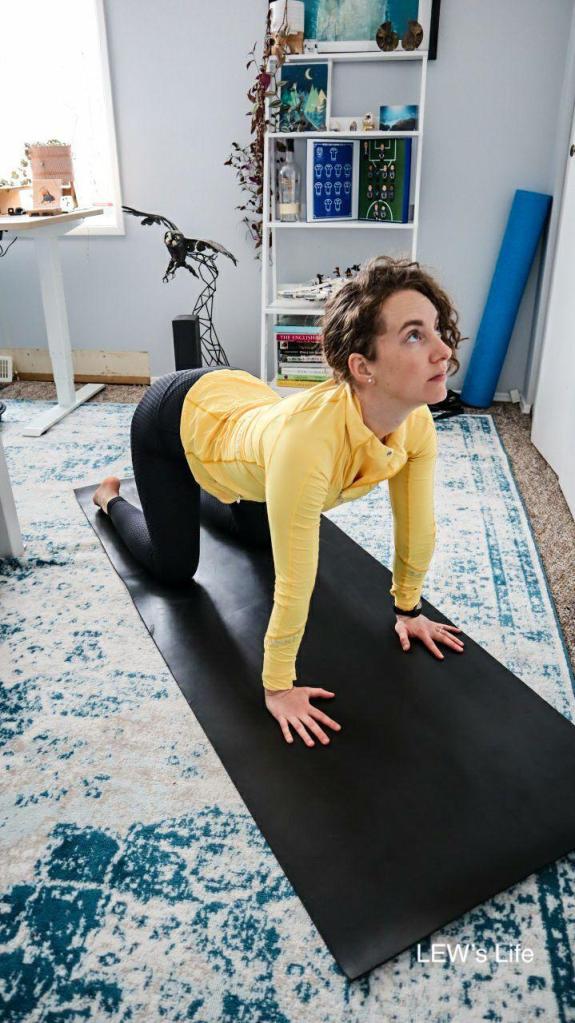
On the ground: position yourself on all fours with your hands under your shoulders and your knees under your hips. Inhale as you curve your spine down towards the ground and extend your head up and back. Exhale as you bring your belly button towards your spine, in and up, and arch your spine up towards the sky and tuck your head down. Move with your breath and transition between these two movements 5-10 times.
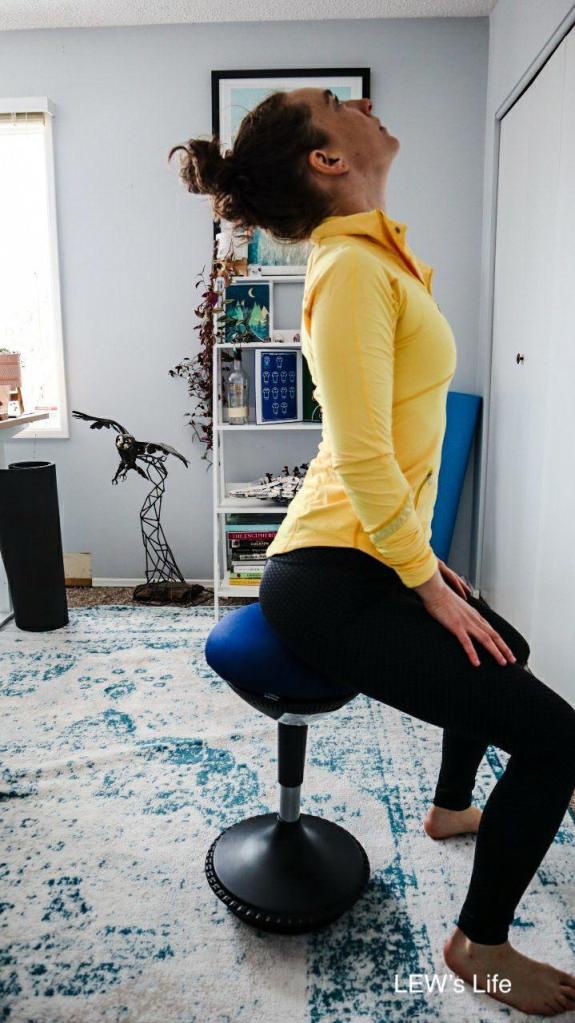
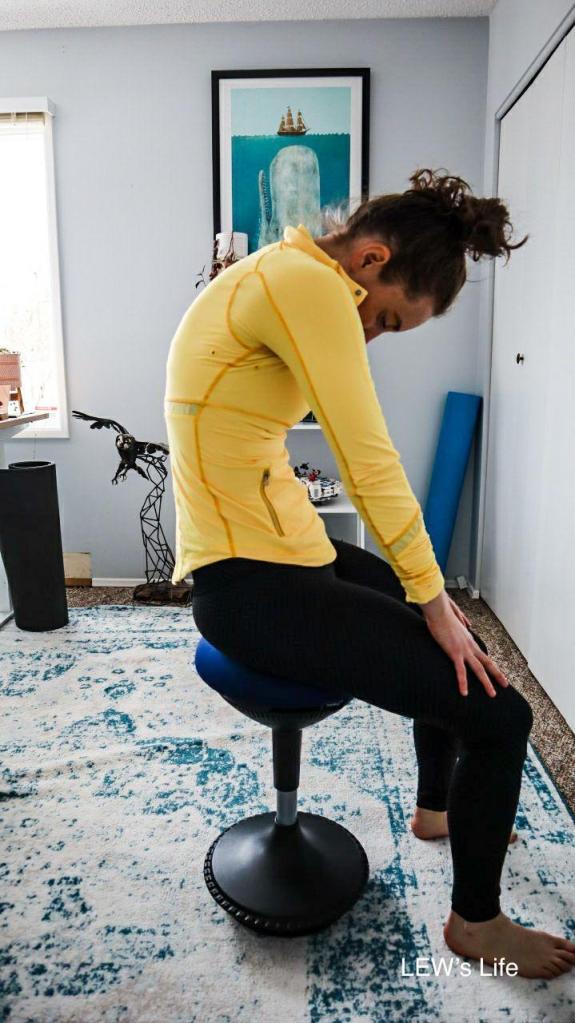
Seated: Just as above but now you are seated. Sitting in a chair or on the couch, place your hands on your thighs closer to your knees and inhale as you curve your spine forward and tilt your head back as you are looking up. Then as you exhale, arch your spine back and tuck your head towards your chest. Now transition between these two movements as you move through your natural breath.
At the end of the day, motion is lotion, even when you are not feeling your best, but always remember to listen to your body. If you need a rest day, take it. But these are just some suggestions of gentle movements that you can do while you are healing from a cold or the flu.
Here is the video showing how to do these exercises from my IG account: